Menu
Smarter Shopping, Better Living!
0 Cart
Home>GMC>Tronxy XY-3 SE 3-IN-1 3D Printer 255*255*260mm Single + Dual + Laser Head
Tronxy XY-3 SE 3-IN-1 3D Printer 255*255*260mm Single + Dual + Laser Head

Tronxy XY-3 SE 3-IN-1 3D Printer 255*255*260mm Single + Dual + Laser Head Item NO.: XY-3 SE 3in1

5.0
(3)
Write a Review
US$ 377.91
US$ 765.00 Save US$ 387.09 (50.6% Off)
Shipping from
Czech(To EU Country Only) United State(To US Only) China UK ( To UK Only)
Type
XY-3 SE 3-IN-1
Quantity

Copy and share this link on social network or send it to your friends

Copy
  • (Oversea warehouse will arrive on around 15 days)
  • Tronxy 3D Printers XY-3 SE New Arrival
  • ●Affordable 3 IN 1 3D Printer 2021
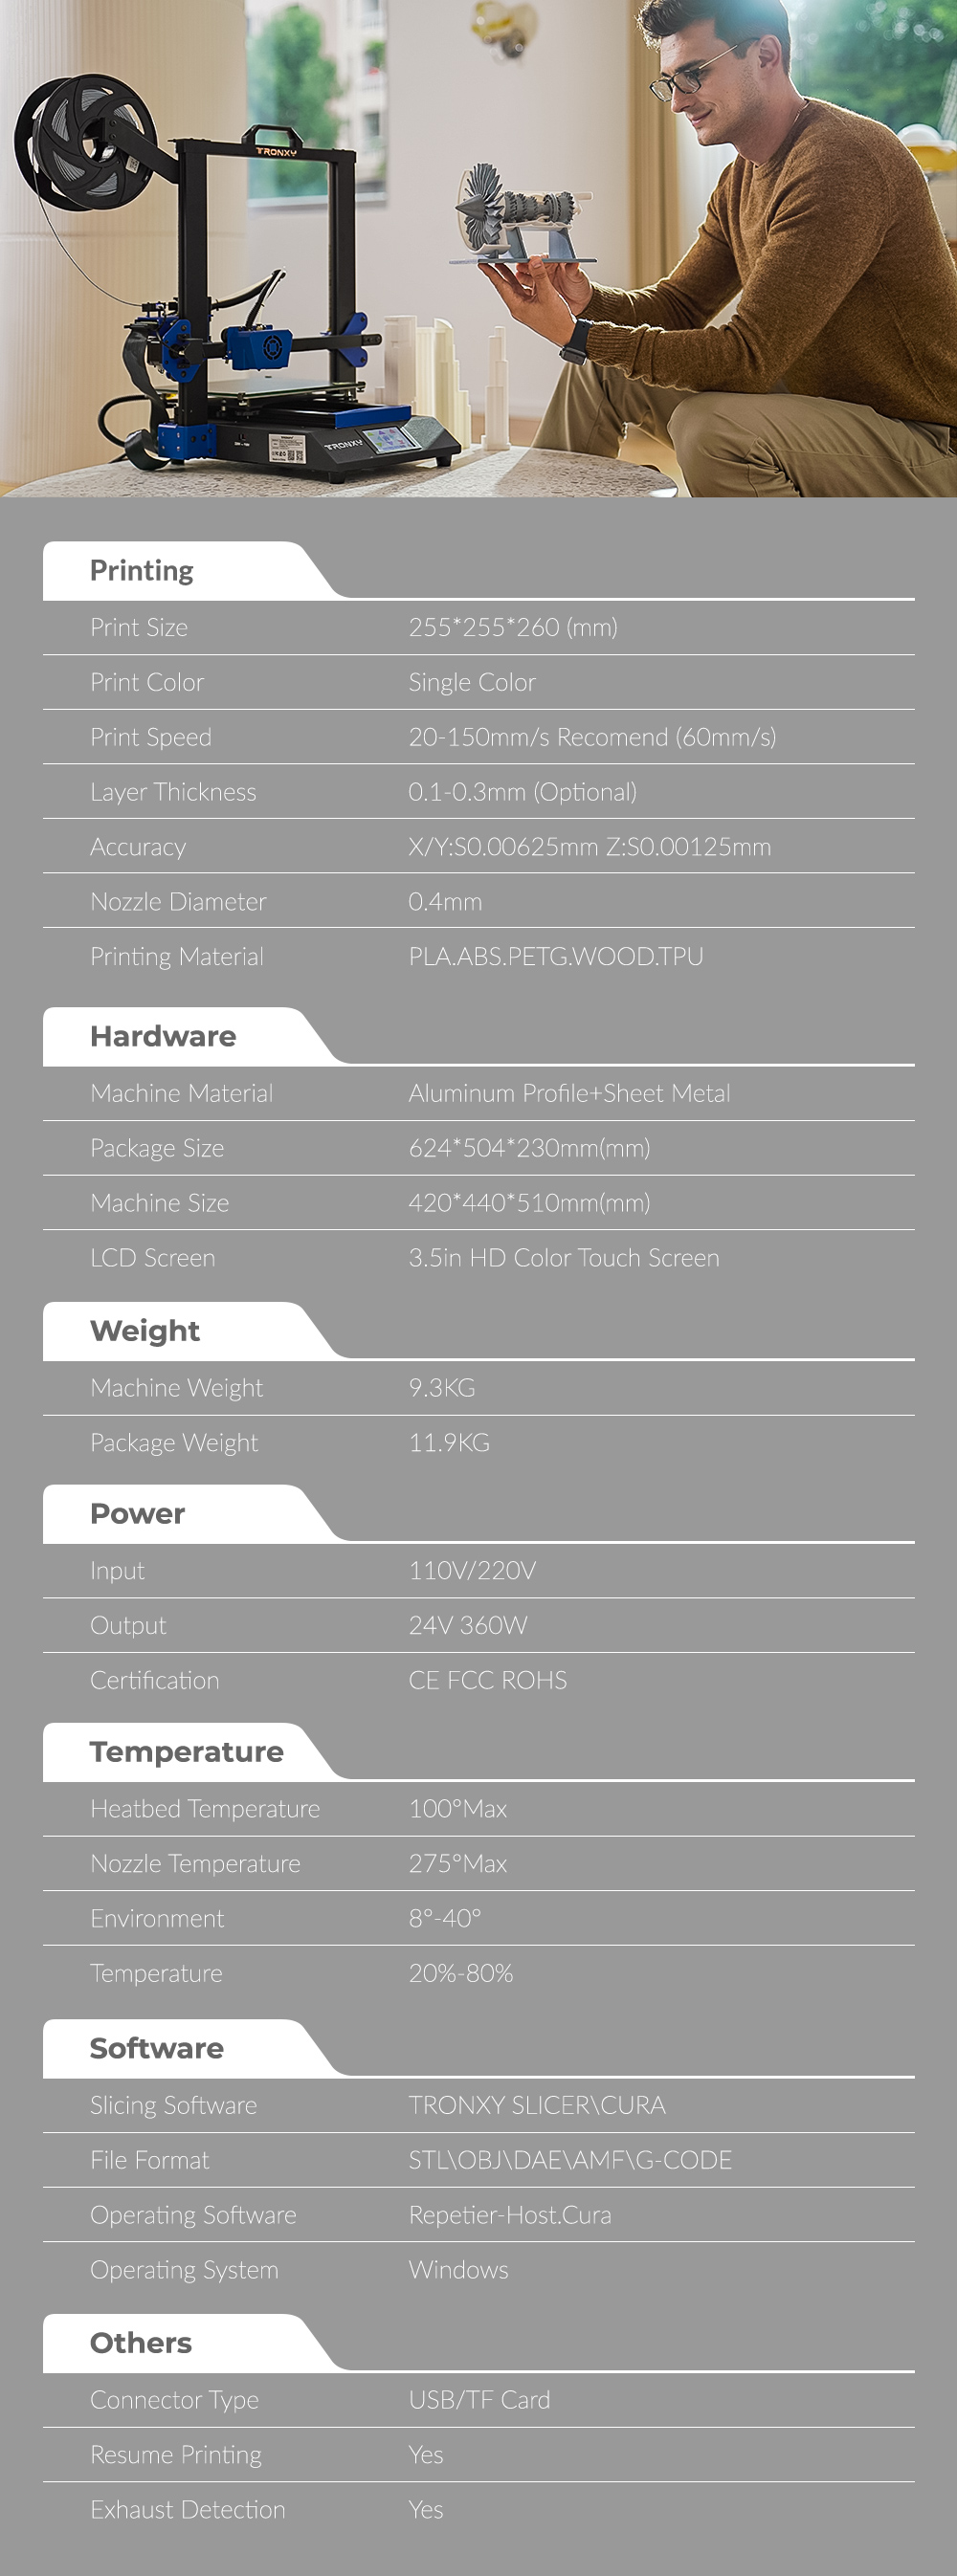
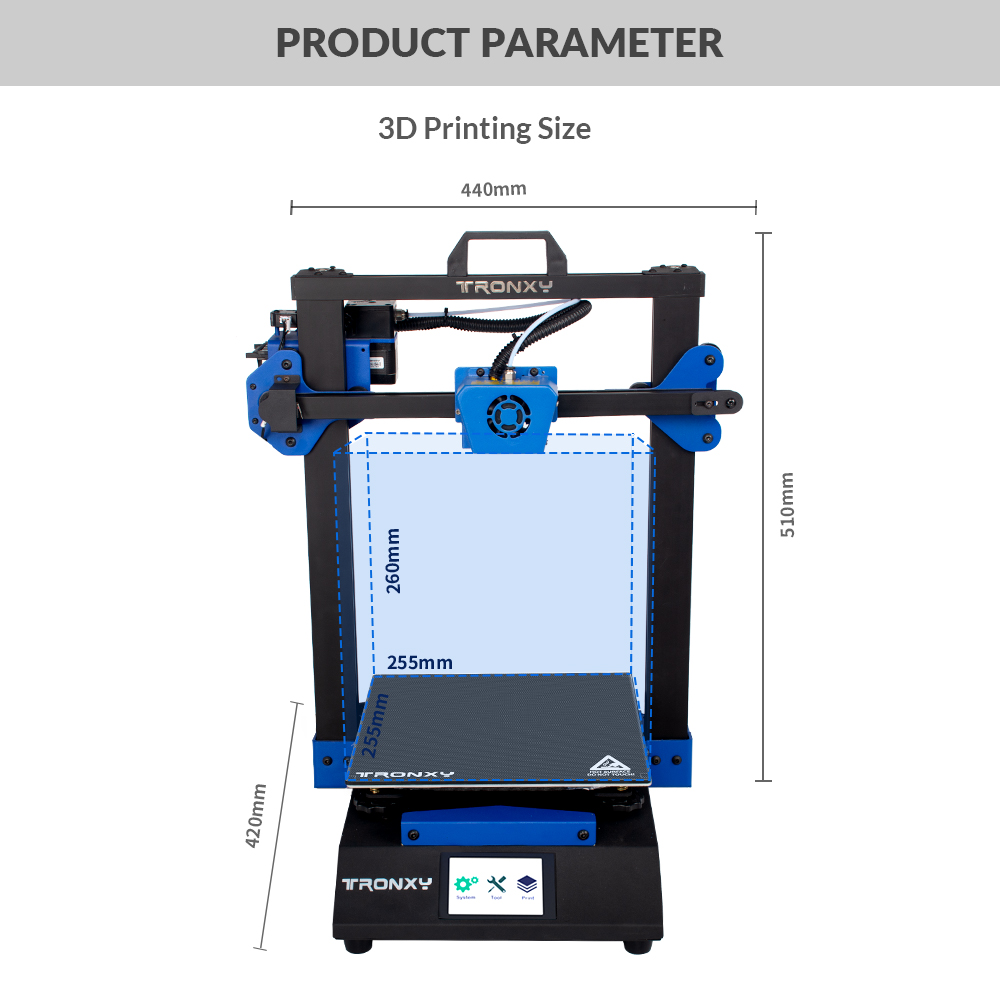
  • ●255mm*255mm*260mm Building Size
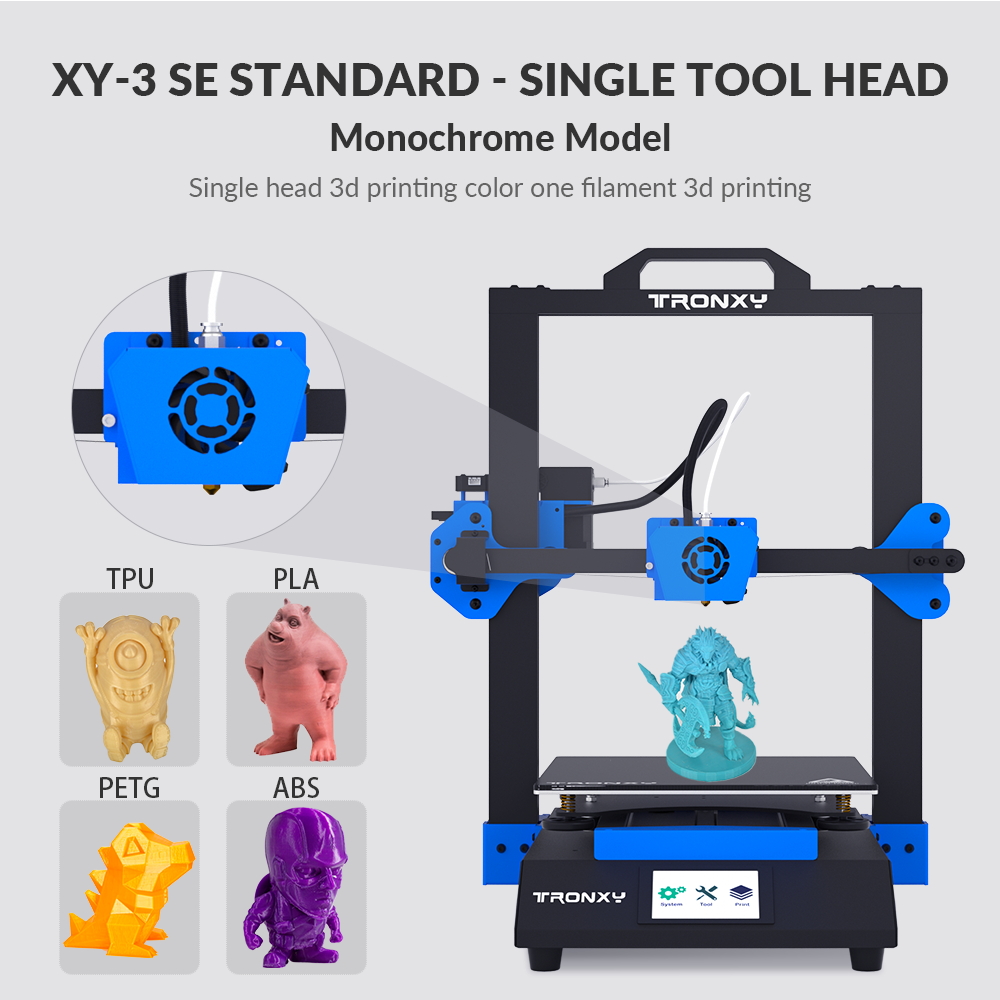
  • ●Single head 3D printing color one filament 3D printing
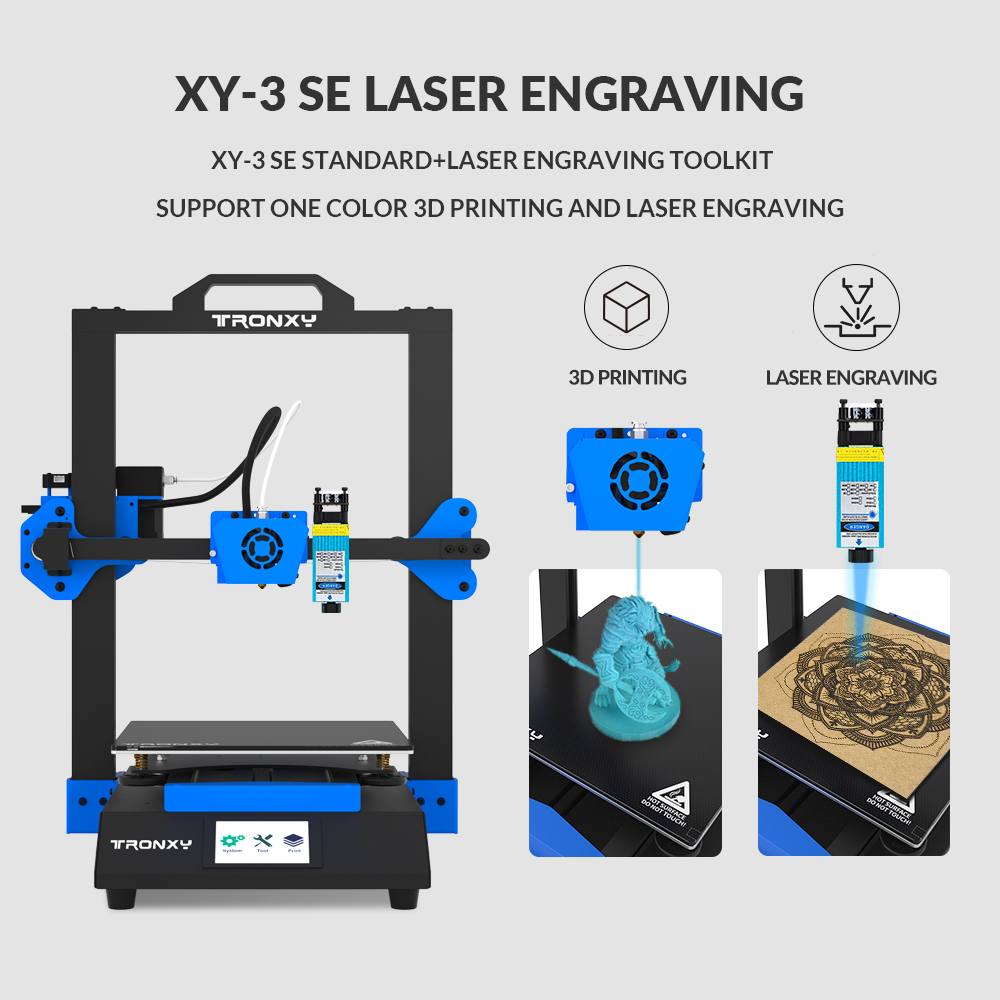
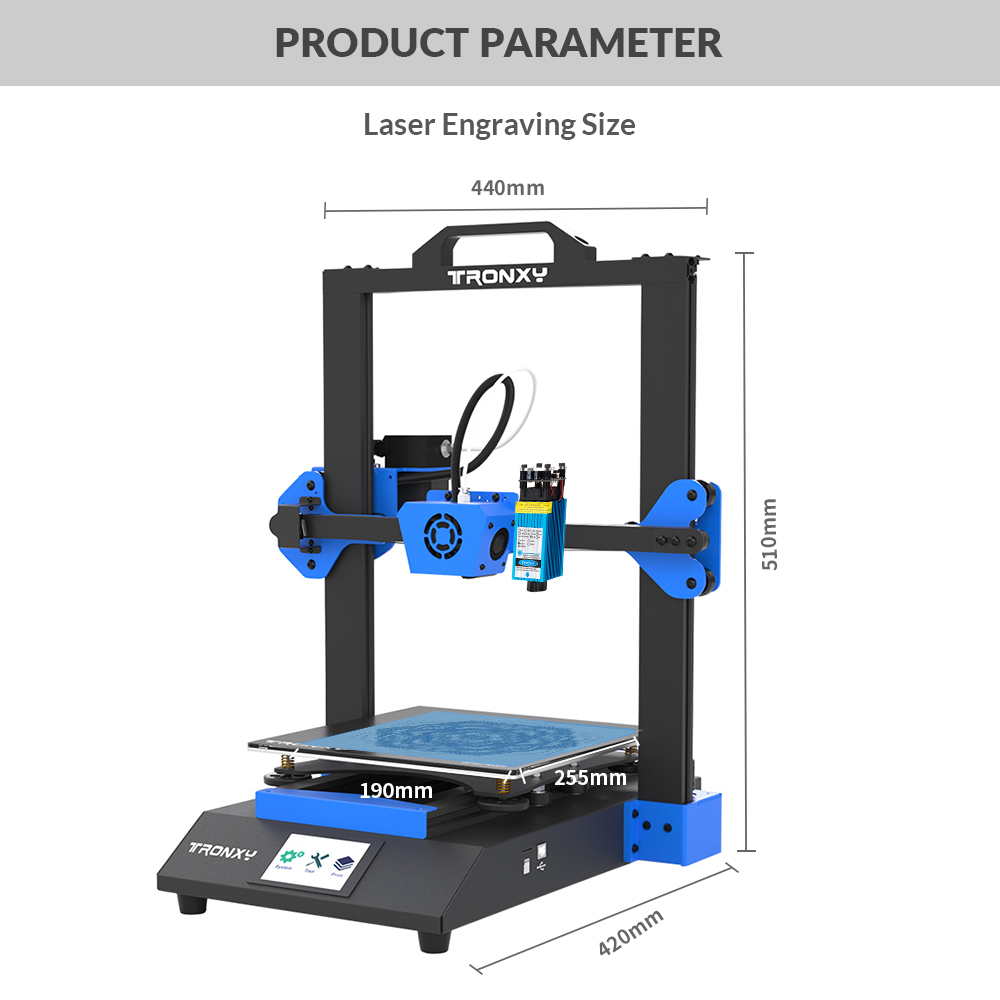
  • ●Support one color 3D printing and laser engraving
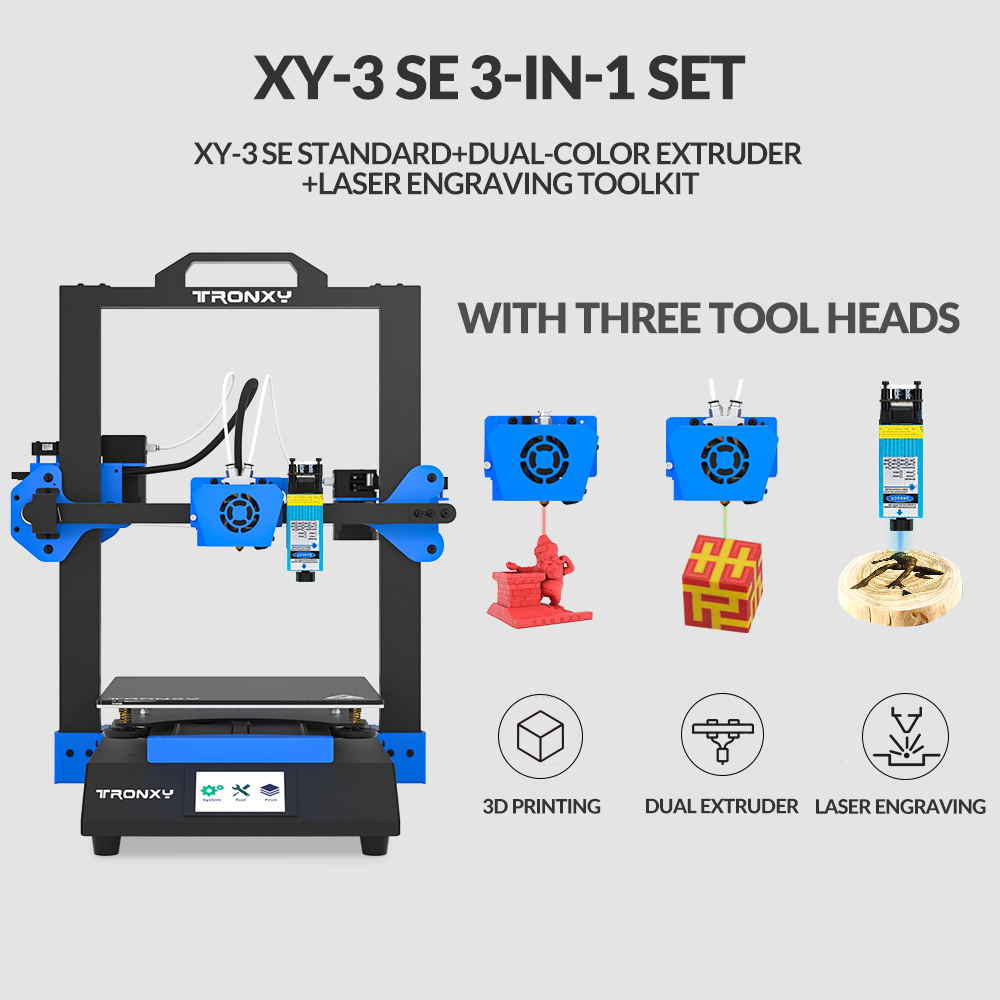
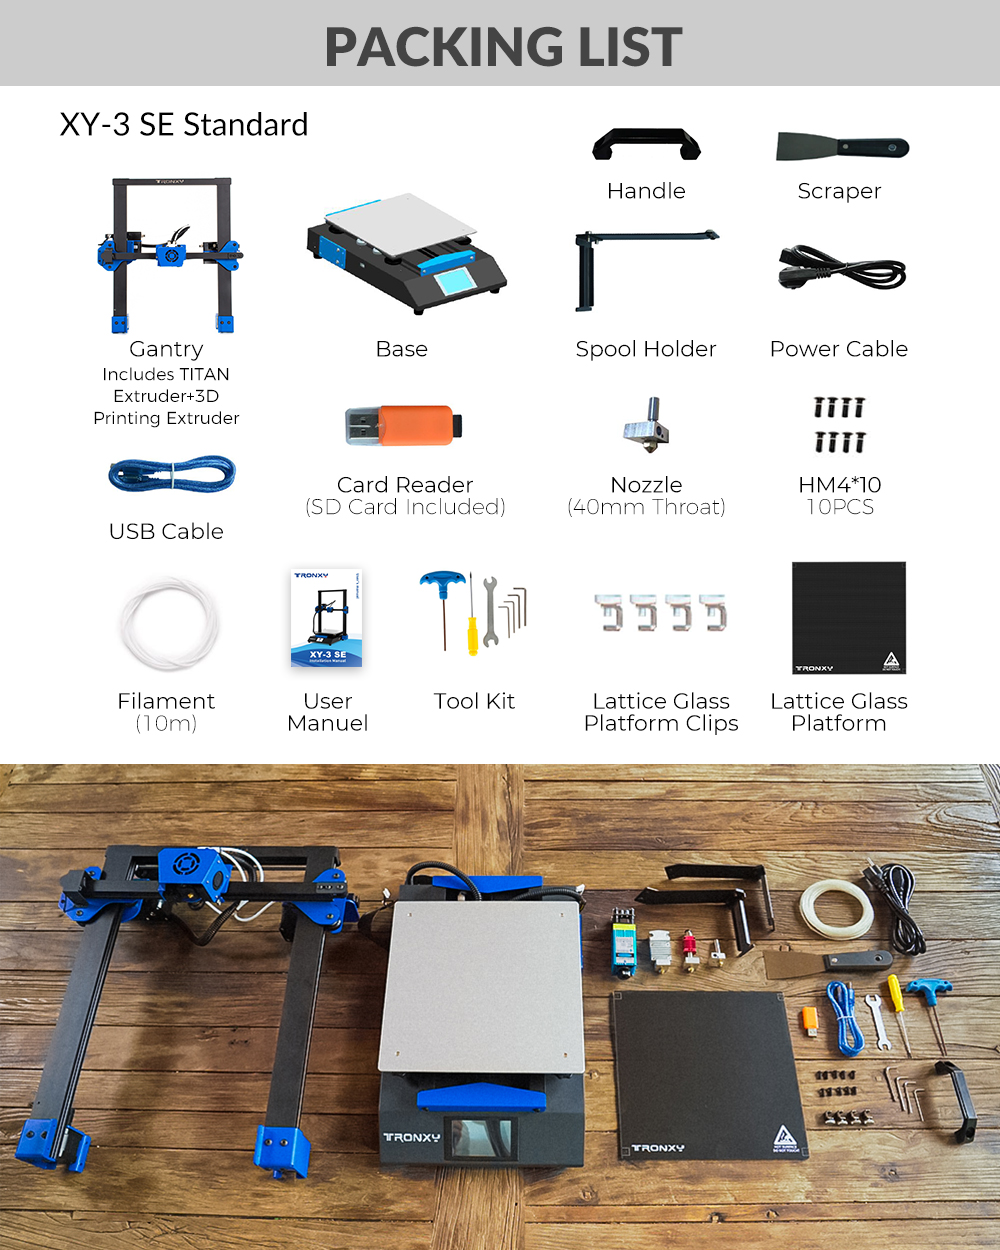
  • ●XY-3 SE Standard+Dual-color extruder+Laser engraving toolkit
Product Name Tronxy XY-3 SE 3-IN-1 3D Printer 255*255*260mm Single + Dual + Laser Head
Item NO. XY-3 SE 3in1
Weight 15 kg = 33.0693 lb = 529.1094 oz
Volume 0.7 CBM
Category GMC
Tag XY-3 , tronxy , 3d printer
Brand Tronxy
Creation Time 2021-12-17

Tronxy XY-3 SE 3-IN-1 3D Printer With 3D Printing, Dual extrusion&Laser Engraving


Tronxy Laser module kits New Upgrated Install Video


Tronxy XY-3 SE 3D Printer With 3D Printing, Dual extrusion&Laser Engraving


2021-12-07

St****my

First of all , der Drucker ist in 5 Minuten zusammengebaut . Ohne Probleme ist der Drucker startbereit , eine Kalibrierung ist Tronxy Typisch etwas verkorkst gelöst , aber wenn man sich nach der Anleitung hält , bekommt man das hin . Der Drucker kam bei mir mit verbauten Dual Hotend ( Achtung , das ist kein Mix Hotend ) somit ist keine Farbmischung möglich . Die ersten Ausdrucke sind vielversprechend sehr ordentlich herausgekommen . Mit dem Dual Color Druck muss man sich definitiv sehr beschäftigen , dies ist absolut nichts für Anfänger ( Ich habe bereits sehr viel Erfahrungen mit einem A20 M gehabt ) Der Tronxy kann dies aber bei weitem Besser als die Konkurrenz . Ebenso Qualitativ ist der Tronxy gegenüber besagtem Marktbegleiter ein Quantensprung , Sowohl Verarbeitung als auch Bedienung usw. ist dies nicht zu vergleichen . Der Tronxy möchte mit Cura im Dualdruck nicht so gerne , er mag in diesem Fall lieber seinen Tronxy Slicer der mitgeliefert worden ist .( Er basiert auf Cura 15....) Für Single Color Druck ist aber das Neueste 4.8 ebenfalls gut geeignet . Zum Lasern : Leider spricht hier die Bedienungsanleitung recht wenig und karge Worte was dieses Kapitel angeht . Der Laser wird anstelle eines einfachen Magneten recht umständlich Angeschraubt . Der Laser kann bei 3d Druck nicht angebaut bleiben , da er tiefer wie die Nozzle sitzt ( wäre verbesserungswürdig ) Bei mir war der Laser nicht funktionsfähig , was nicht schlimm ist , da man ja Garantie hat und sicherlich ein Neuer Geschickt wird . Aber auch hier liebe Tronxy Leute : Euer Support ist trotz gutem preisgünstigen Produkt nicht besonders Atemberaubend . Entweder wartet man ewig auf Antwort , oder eben in nicht gerade selteneren Fällen auf Keine Antwort . Hier solltet ihr euch eine Scheibe von bekannten Marktbegleitern namens A..... abschneiden . Alles in Allem ( Ich hoffe doch sehr das dies mit meinem Laseraufsatz gelöst wird ) empfehle ich diesen Drucker an Fortgeschrittene weiter da er seinen Job wirklich gut macht . Für den Anfänger würde ich sagen ist der Drucker im Single Color Druck ebenfalls geeignet da er sich im Prinzip wie ein XY2 mit und ohne Pro verhält , und somit recht unkompliziert seinen Job macht . Nach wie vor ist der Z Nullpunkt mit dem Sensor eine Nervige Sache da er bei jedem Start eine andere Höhe annimmt . Aber nachdem man beim ersten Layer sowieso kucken möchte kann man den Z Offset bei First Layer bequem in Babysteps nachkorrigieren . Noch ein Wort zur Technik : Es sind Leise Treiber verbaut , somit hat man nur die Lüftergeräusche wovon die des Netzteil alles Übertönen . Hier werde ich einen Umbau tätigen . Ansonsten ist mir nach 1 Woche Druck in allen Varianten nicht ungewöhnliches über den Weg gelaufen .Das Gesamtpaket hat hier und da ein paar kleinere Ecken und Macken , trotz alledem bereue ich den Kauf keinesfalls , er ist im Großen und Ganzen Empfehlenswert und macht seine Arbeit Ordentlich und Gut .

2021-09-23

@T****ce

The TRONXY XY-3 SE performed incredibly well out of the box. I have been impressed with the overall build quality of the print. I'm yet to try the laser or the duel printing but the first impressions are great.

2021-07-29

Ni****00

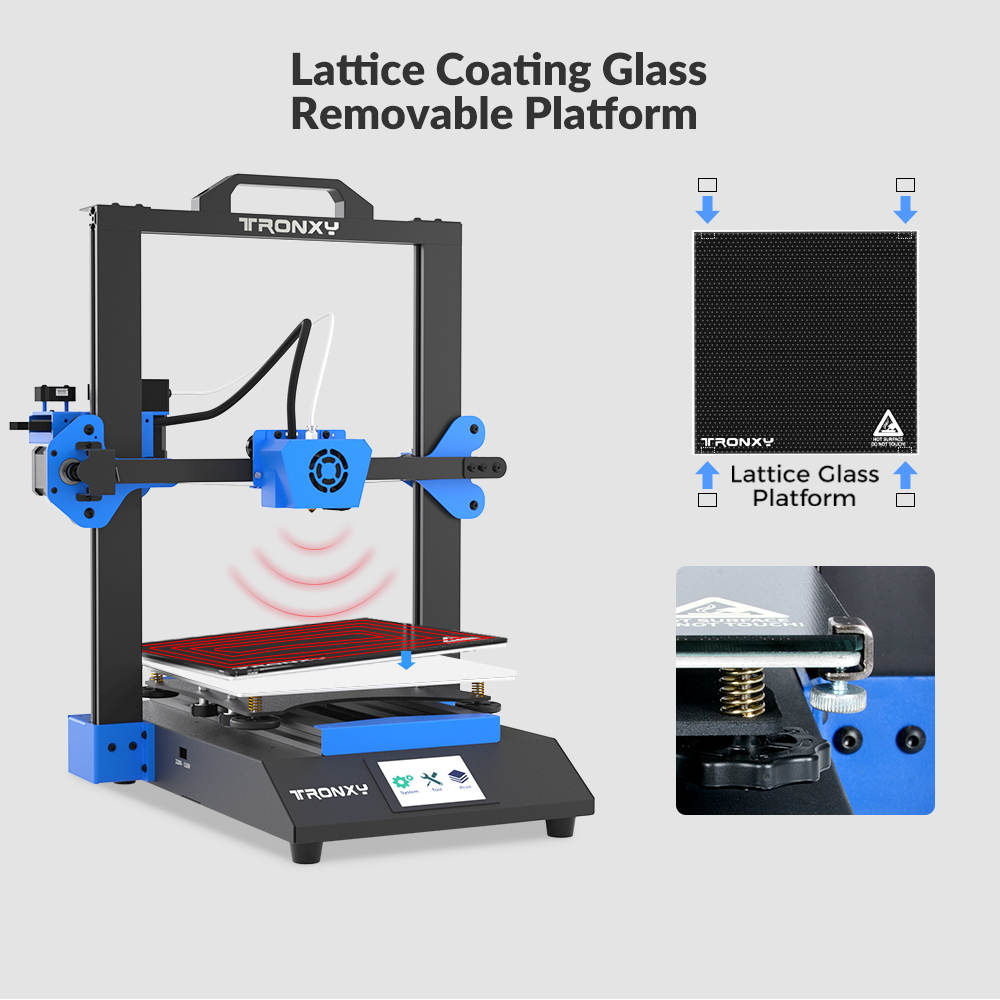
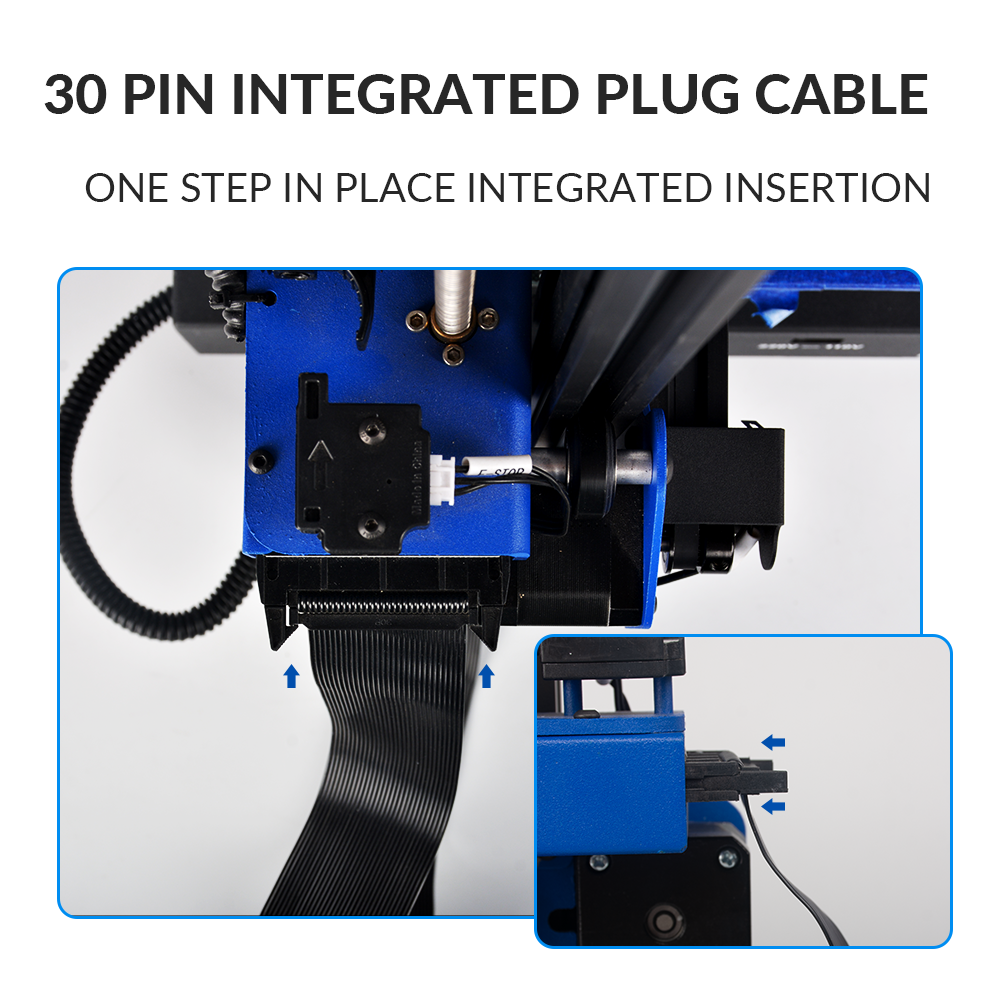
This is not my first 3D printer, I bought my first one about 3 years ago and have had several since then. However I have to say this is the best one I've had to date. Initial impressions were how well specified this printer is for the price being asked and whether maybe to include so many different options maybe some corners had been cut to keep the price down. But to date I have to say my experience is totally the opposite as I've found the printer to be stunningly good and a very good performer.When first opening the rather large box it comes in it is a little overwhelming as there seems to be loads of items and you assume there is a lengthy build ahead of you. However this couldn't be further from the truth. In reality when you first assemble the printer there are literally only 12 bolts to worry about. This is because the main components come fully assembled. There is the base unit that contains all the electronics, power supply, touch screen, heated bed etc... and the gantry assembly which contains the vertical motors (two), and the horizontal bar which carries the hot end assembly. All you need to do is place the gantry assembly vertically on the base unit and fasten the bottom of the uprights to the side of the base unit using 4 screws on each side. These actually do fasten into the sides of the base so there's even no need to go balancing the base on its side while fitting the gantry unlike all over printers I've assembled. There are then a further two bolts on the spool holder which attaches to the gantry.Once this is complete there are only 3 cable connections to be made, one small lead with plug (keyed) on each side that plug into the vertical 'z-axis' stepper motors on each side of the gantry and a single ribbon cable that feeds from the base unit to a connector on the left of the gantry where the extruder stepper motor is found. The latter contains all the leads required to support the stepper motor, filament run out sensor, hot end and fan assemblies. The last things to add are the spool holder which fits to the gantry upright and the glass bed which sits on the heated bed and is fastened in place with 4 screw clips, another innovation I've not seen elsewhere but very neat. I should also add the glass bed also has a special coating on its surface that helps with adhesion, just remember to let the bed cool before trying to remove your prints or you'll likely damage the coating.Power plugs into the rear of the base unit and you are effectively ready to calibrate the printer and go. However be aware that there is a voltage selector on the left side of the base unit (when viewed from the front) that sets the mains voltage to either 240v or 110v, this should be set to 240v for the UK, be sure to check this as on my printer this was set to the USA standard of 110v. Get this wrong and you will at least blow a fuse, but may cause far more damage if unlucky.At this point you can power the printer on and it should beep and present you with a basic menu after it has gone through its startup routine. Once this is complete you get to 'level' the bed. This is something that strikes fear into a lot of people and indeed can be the difference between getting prints to stick to the bed well or having failed prints due to them coming loose. To carry out the bed levelling I would suggest the following steps, this is slightly more than suggested in the manual but worked perfectly flawlessly for me;1. Go into the tools menu and select levelling then the manual option. Then using the menu options select each corner to level, this will move the print head to the relevant corner and lower it to the default level of the printer. You should then insert a sheet of paper between the nozzle and the bed and while turning the screw wheel below that corner of the bed move the sheet of paper back and forth, turning the wheel to the right will lower the bed, to the left will raise the bed, once you feel a small amount of resistance on the paper stop and move to the next corner. It is sometimes worth going round the cor