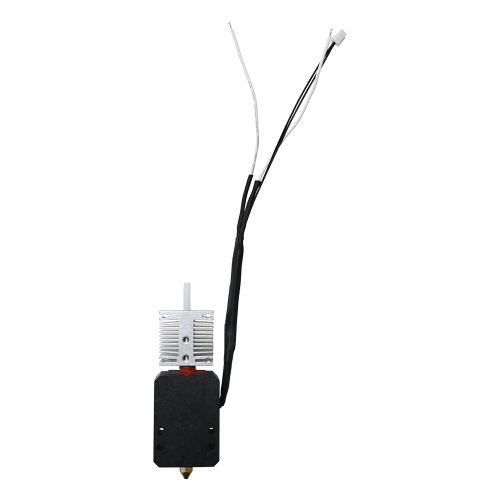
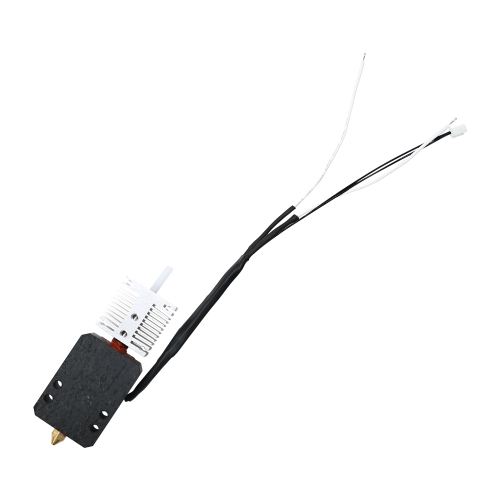
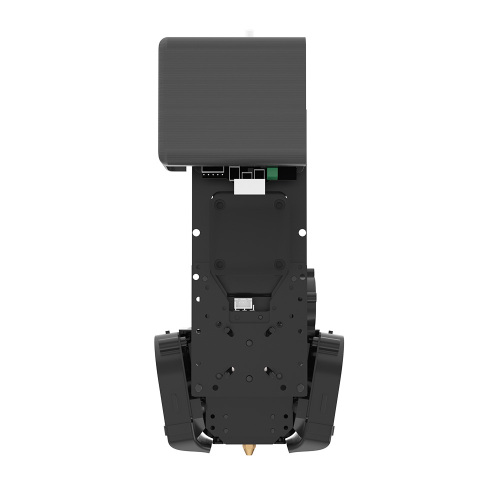
Tronxy 3D printer X5SA Upgrade to X5SA Pro Version ( Upgrade Kit)
In this video, I walk through the bed leveling process for the TRONXY CRUX 1S — a compact 180×180×180 mm 3D printer with a 275°C direct extruder and up to 300 mm/s high-speed printing. Whether you’re setting up the printer for the first time or troubleshooting first-layer adhesion, this step-by-step leveling guide is designed to help you get a clean, consistent first layer.
🛒 Get the TRONXY CRUX 1S here:
👉 https://store.tronxy.com/product-8000190.html
What’s covered in this video:
• Manual leveling basics — using the paper method and adjustment nuts under the platform
• Auto-leveler height adjustment — how to set the sensor and trigger point correctly
• Z-offset fine-tuning on the touch screen for the perfect first layer
• Quick tips to avoid common leveling mistakes
Why the CRUX 1S is beginner-friendly for leveling:
The CRUX 1S features a PEI heat bed (up to 110°C) and a straightforward leveling workflow. Many users report that the auto-level system “works quite well,” and Z-offset is easy to set directly from the touch screen. For manual adjustment, the large hand-screwing nuts under the bed make tramming more convenient and labor-saving.
Printer specs at a glance:
• Build volume: 180 × 180 × 180 mm
• Max speed: 300 mm/s(recommended 150 mm/s)
• Nozzle temp: up to 275°C;Bed temp: up to 110°C
• Nozzle diameter: 0.4 mm;Layer precision: Z-axis 0.0625 mm
• Slicer support: Cura、Simplify3D
Useful links:
• CRUX 1S product page: https://store.tronxy.com/product-8000190.html
• Tronxy FAQ & leveling reference: https://www.tronxy3dprinter.com/pages/faq/
Timestamps:
0:00 Intro
0:30 Why leveling matters on the CRUX 1S
1:15 Manual leveling prep
3:00 Auto-leveler adjustment
5:30 Z-offset on touch screen
7:00 First-layer test
8:30 Final tips
If this helped you get a better first layer, hit Like and Subscribe for more TRONXY CRUX 1S guides. Drop a comment if you run into any leveling issues — I’ll try to help.
#TRONXY #CRUX1S #3DPrinting #BedLeveling #3DPrinterTutorial
TRONXY T2 Fully Enclosed Sugar Painting Machine – DIY Sugar Art & Chocolate Printing
The TRONXY T2 is a fully enclosed 3D printer built for sugar mixtures (maltose) and chocolate. With a 185×185mm build surface and a 1.5mm large-diameter nozzle, it turns edible ingredients into custom sugar paintings, cake decorations, and DIY candy art.
🔥 Key Features
Fully enclosed chamber with glass doors: helps maintain a stable printing environment and keeps dust out — suitable for home and classroom use
Food-contact heated aluminum hopper: dedicated food-grade hopper, heats up to 180°C, designed for sugar syrup and chocolate
Auger (spiral) extrusion system: even extrusion pressure and reduced leakage, better for thick sugar syrup
1.5mm large nozzle: significantly reduces clogging with sugar syrup for smoother continuous creation
Integrated print cooling + non-stick silicone build plate: helps finished pieces set quickly and release easily
Linear rail guidance (XYZ): smooth motion and accuracy up to 0.5mm
Template library + Windows software: ready-to-use templates, beginner-friendly
📐 Key Specs
Print size: 185×185mm
Nozzle diameter: 1.5mm
Max hopper temperature: 180°C
Printing accuracy: up to 0.5mm
Recommended print speed: up to 60mm/s
Compatible materials: maltose syrup, chocolate
Machine size: 387×410×344mm | Weight: approx. 13kg
Power: 220V / 50Hz, 320W
🎯 Who Is It For?
Home DIY sugar art enthusiasts
Baking studios and dessert shops making custom cake decorations
Schools and event demos for food-printing activities
Makers and food creators who want to make sugar art content with a tech twist
🛒 Purchase Link
👉 TRONXY T2 Fully Enclosed Sugar Painting Machine
https://store.tronxy.com/product-8000195.html
📌 Quick Tip: Clean all food-contact parts thoroughly before first use. Clean the hopper and nozzle promptly after each use to maintain food hygiene.
Note: The 185×185mm figure comes from the product name and the official page. Some third-party listings show 170×150mm, which may reflect a different m
T2 sugar painting 3Dprinter link:
https://www.tronxy3d.com/b7l4d3
#sugar #sugarpaintingmachine#sugarart#automation
VEHO 1000 PRO Link:
https://www.tronxy3d.com/ayf3bz
#3dprinting #klipper #largeformatprinter #highspeed
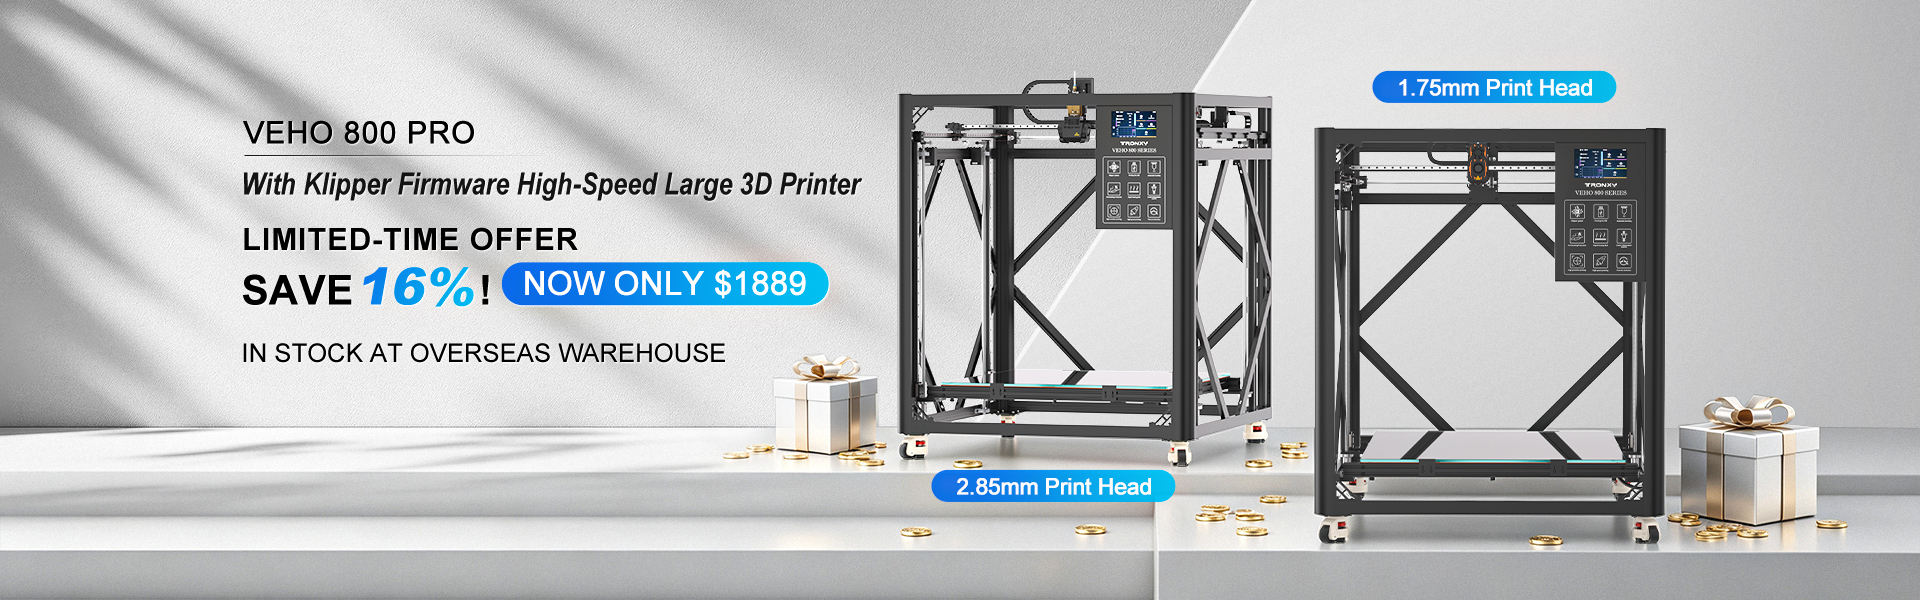
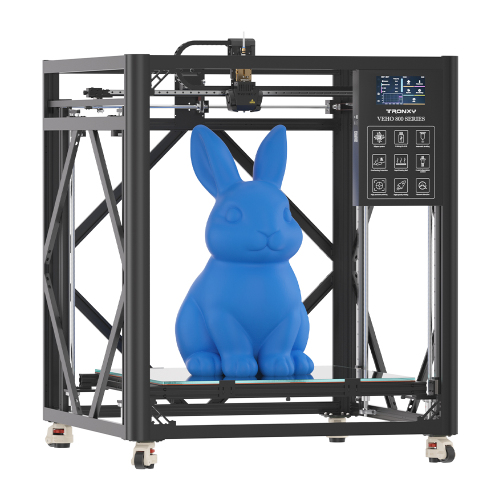
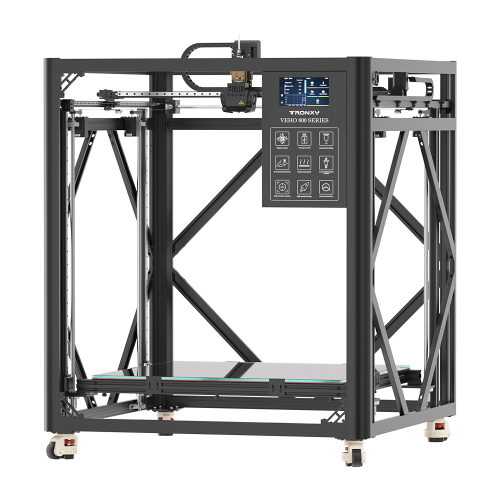
In this 40-second short, I 3D printed a massive 600mm mooncake featuring the Moon and Jade Rabbit using the Tronxy VEHO 800 PRO large-format 3D printer.
The VEHO 800 PRO has an 800×800×800mm build volume, which means this giant mooncake took up most of the build plate — it's one of the largest single-piece 3D prints I've done on this machine.
🔧 Printer used:
Tronxy VEHO 800 PRO
Build volume: 800×800×800mm
Klipper firmware
36-point auto-leveling
High-speed printing up to 600mm/s
7-inch touchscreen
🛒 Product link: https://store.tronxy.com/product-8000194.html
📐 Print specs:
Model: Mooncake with Moon & Jade Rabbit (Mid-Autumn Festival theme)
Diameter: 600mm
Material: PLA
This is a Mid-Autumn Festival-themed print — the Jade Rabbit (玉兔) and Moon are traditional symbols of the festival, which celebrates reunion and the harvest moon. Printing it at this scale felt like a fun way to blend Chinese cultural elements with modern 3D printing technology.
💬 If you enjoyed this, drop a like and let me know in the comments — would you print something this big?
#3DPrinting #VEHO800PRO #Tronxy #LargeFormat3DPrinter #MidAutumnFestival #Mooncake #JadeRabbit #3DPrinted
VEHO 1000 PRO 2E link
https://www.tronxy3d.com/bz7wn2
#klipper#largeformat#multicolor
T2 Sugar Art Printer sales link:https://store.tronxy.com/product-8000195.html